Home / How to add a killfeed to a video
How to add a killfeed to a video
1. Make the killfeed
- Open the generator for your game, add a row for each kill and set the names, weapons and icons.
- Under “Video size”, pick the resolution of your clip, for example 1920 × 1080. The feed is drawn at the exact in-game size for that resolution.
2. Choose the picture type
- “Just the killfeed” gives a small PNG with a see-through background. Use it when you want to move the feed yourself.
- “Full screen” gives a picture the size of your video with the feed already in the game's position. Lay it over the whole clip and it lines up without moving anything.
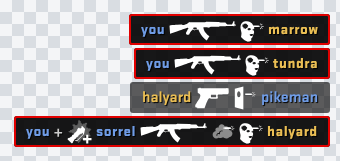
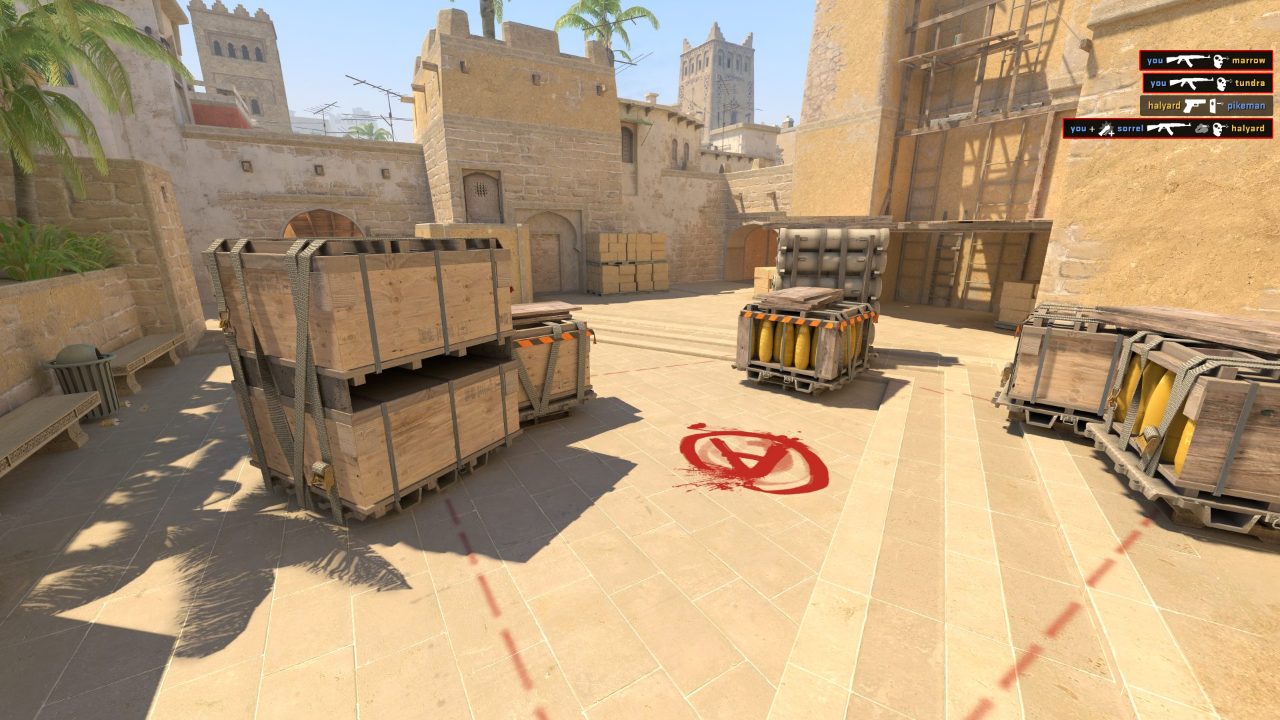
3. Add it in your editor
- Premiere Pro: import the PNG, drag it to a track above your clip and trim it to the moment of the kill.
- DaVinci Resolve: drop the PNG on a video track above the clip. In the Inspector, keep zoom at 1.0 for a full-screen PNG.
- CapCut: add the PNG with “Overlay” and stretch it to fill the frame if you used “Full screen”.
- After Effects: import the PNG as footage, put it above your clip and use opacity keyframes to fade it in and out.
4. Make it feel real
- Games add kills one at a time. Export one PNG per kill and stack them, or export the whole feed and reveal it with a wipe.
- Real feeds fade out after a few seconds. Add a short fade at the end of each PNG.
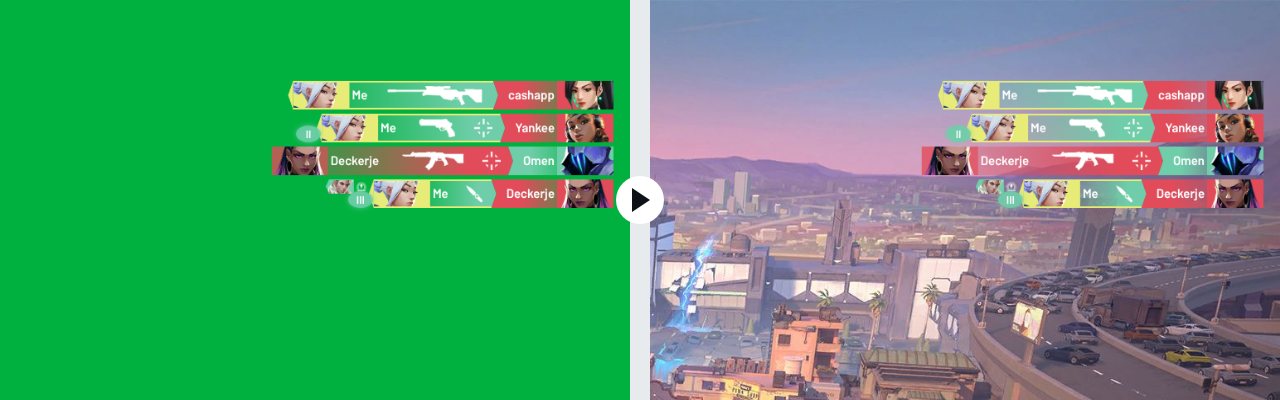
Green screen instead of transparency
Some phone editors don't handle see-through PNGs well. Pick the green screen background and key it out with a chroma key effect.